
How to Install an Ultraviolet Water Treatment System
Installing Pura UV System
This is going to be one video in a series of videos that go over the installation, maintenance, and repair of your PURA UV system.
In this video, we will go through the proper installation of a PURA UV system. We are going to be installing one of the larger whole house systems today known as the 20BB3, this unit consists of two pre-filters housings and the UV housing pre-assembled on a single wall mounting bracket. The installation methods we use apply to most of the products in the PURA UV product line, so even if you have another model many of these same principles apply.
The first thing you want to do is to determine where you are going to install the UV system, keeping in mind with this larger system you generally want to install it near the incoming water supply to the home if your goal is to treat all the water. If you do a lot of irrigation you might consider splitting your lines so you don’t expend your filters to quickly. Also, these systems require a dedicated circuit so make sure you have a free outlet handy or you may need to have one installed.
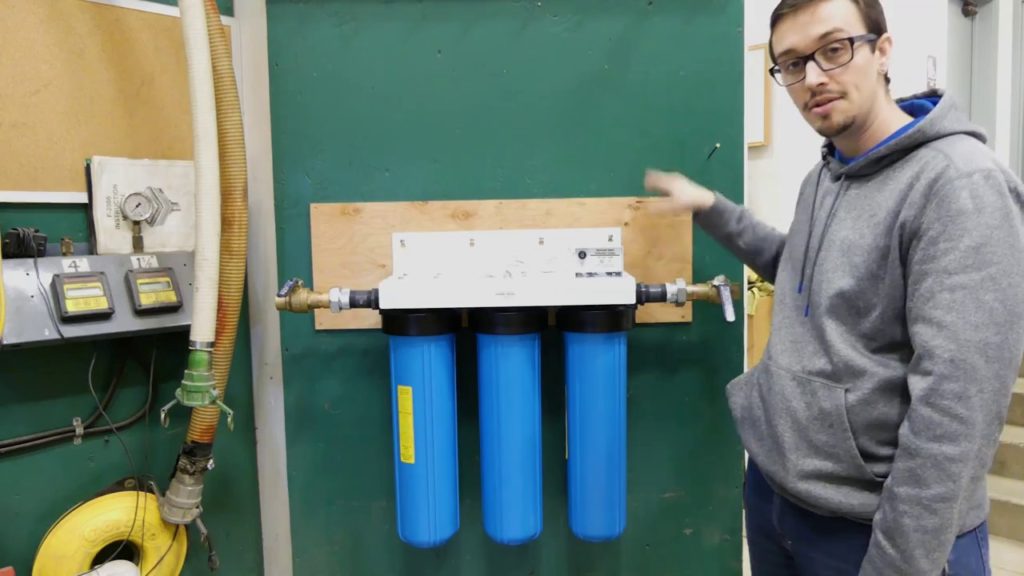
So our incoming water supply is right here so we will be installing our unit on this wall and we would need to plumb from here to our UV system and back down since we making this video about this UV system and not about plumbing we won’t be doing the plumbing work in this video.
So now that we know where we are going to be installing our UV System, let’s open the box and get started installing the mounting bracket. Before you begin installation inspect all parts for damage to ensure you won’t run into any problems once you get started and cut into your water line.
You will want to maintain with this unit 20” of clearance above and below the unit for easy servicing. The lower clearance is most important, you can live without the upper clearance but it makes changing the bulb a pain in the neck.
Will all the parts of the mounting bracket using a level, hold your bracket in place and secure with the provided screws.
With the mounting bracket secured we can get our plumbing into place then begin assembling the UV system. *I will install ball valves and unions on either end of the system to allow for easy isolation and removal of the system. It is recommended that you plumb a bypass into your system so you can still have water if something happens to the UV system such as a broken housing, failed o-ring or broken quartz sleeve.
Assemble remaining components of the system and plugin. Open valves and you are ready to go.
An additional recommended step is to chlorinate your plumbing after the UV system. Assuming you are installing this system as a whole house solution you would apply chlorine to the system and allow it to sit for a period to kill any possible bacteria already beyond the UV light. One method for accomplishing this is to take chlorine bleach and dump ¼ to 1 cup into your 2nd filter housing with and work the chlorine into your water lines. Then allow it to sit overnight. You want a strong smell of chlorine at all your taps before you begin the soaking or waiting process. Then simply flush the lines and you are ready to go. Keep in mind if you are on a septic system you do not want to flush your lines into the drain.
Have a question? You can live chat with us at https://www.rcworst.com/, call 855.329.4519, or email Customer.Service@RCWorst.com to speak with an industry expert.
Add us to your professional network: https://www.linkedin.com/company-beta/10117501/?pathWildcard=10117501
Follow us on Twitter: https://twitter.com/rcworst
Like us on Facebook: https://www.facebook.com/rcworst
For more industry videos visit our YouTube Channel: https://www.youtube.com/channel/UC57GYcGcyutWPPdzNDu3ytQ
We are a distributor of pumps, packaged pumping systems, on-site wastewater treatment equipment, on-site wastewater treatment systems, and custom electrical control panels for water and wastewater applications, water well supplies, drilling supplies, and water treatment equipment.
Comments are closed.